martedì 16 giugno 2020

"Embrace Art" Artist Trading Block - by Claudia

Hi, servus and ciao à tutti!

Claudia here again! Today I want to share with you an Artist Trading Block I've made using Aall & Create stamps and stencils and Distress and Distress Oxide Inks mainly.


I have used Aall & Create stencils #9 and #10 and stamp sets #26 and #10 alongside Distress Inks "black soot" and "rusty hinge" and Distress Oxide Inks "mowed lawn", "ripe persimmon", "fossilised amber" and "stormy sky". Distress Spray Stain "fired brick" was used to create the hearts I've added to the black soft wire and black archival stamping ink was used to stamp the Aall & Create images.

But let me take you through the process step by step (as always click on the images for a larger view):


I used the Artist Trading Block as a template to draw the squares on some heavy printer paper and then cut five squares of the same size.


Next I placed my squares the way they were going to connect on the ATB once glued in place and stamped the images across several squares in one go as shown in the picture:


I also used smaller pattern stamps and stamped across connecting edges and corners:


Once the stamping was done my result looked like this:


(of course I had to move some of the squares to different spots - depending on where I wanted to visually connect different cube sides across edges).

Time for some stencil fun with Distress Oxide inks!


I made sure I connected several squares with stencilled patterns as well!

Afterwards I inked the squares with "rusty hinge" Distress ink using my blending tool.


The inked squares got some spritzes of water here and there.


Finally I inked the squares' edges with black soot Distress Ink....


...before I glued these to their according sides on the ATB.


I wound some soft black wire around the cube and also added some word stickers and idea-ology letter tiles (yes, I still have some in my stash ;) - but I found that the design was still missing a little special something...

...so I decided to add two hand cut hearts (cut from left over scraps of grey board from packaging materials) that I inked with "ripe persimmon" Distress Oxide Ink. To that I added some spritzes of "fired brick" Distress Spray Stain and blended the edges with black soot again.


The hearts got tucked in the wire wraps. As a final extra I added a small wooden cube that I had inked with ripe persimmon and black soot and drawn a small heart on.


Done!


Some close ups:


and once more the finished ATB:


I hope you like my Artist Trading Block and have fun decorating your own!
All the stamps and inks used for this project are available in the Marte online store. Templates to build your own ATBs can be found in the internet (mine is a sturdier one from MDF but you can also
make ones from sturdy cardstock - which was the original idea as this way they can be folded flat if you do not glue all the edges together and sent in the mail to someone else for trading).

Thanks so much for stopping by today! Hope to see you soon!


Claudia
xxx


martedì 9 giugno 2020

ICS#20.23 Art Journal by Nora

Hello everyone!!! I hope you are well and healthy...
Today, I share with you these pages...


Video tutorial

See you soon!
Have a good time!
Byeee!!!

martedì 2 giugno 2020

ICS#20.22 Notes by Marcella

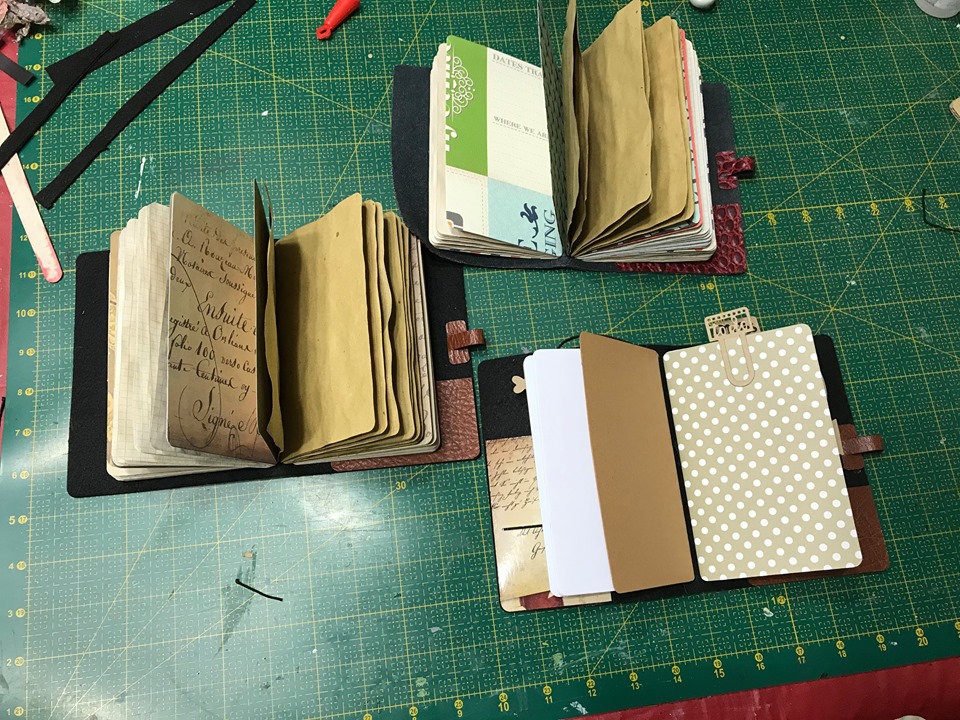
Here I am again on MarteLAB with a simple and useful project that involves the creation of a pocket note.

We use Sizzix 662467 and 662466 coordinated dies to make covers, internal pages and accessories.


The first thing is to choose the papers in harmony with the cover .... the interiors are made with aged papers and colored with coffee while the mixed scrap papers have been selected for the inner covers and inserts.

For the covers, instead, eco-leather cutouts were chosen....


With the dies, everything is truly realized .... from the cover to the pages to the inserts and all the embellishments that personalize the notes


And now some photos documenting the various passages, interiors and assemblies


I hope he gave you a good idea for your notes .... See you next time

  Marcella

martedì 26 maggio 2020

ICS#20.21 Bookmark by Francesca

Here we are with a new very easy project for which we can also use the thousand clippings that we have kept aside every time we finish a project.


I used the cards from two pads of Moda Scrap, Kaisercraft stamps and Di stress Oxide mustard seed.


I cut a strip of pattern paper in yellow fantasy 6x16cm and a strip with a wood effect pad 5x15cm.

The latter I have distorted the edges with scissors, also creating small cuts of which I have folded the edges. I applied a strip of double-sided tape along the center of the back of the wood-effect paper and applied it to the paper with yellow decorations, trying to give three-dimensionality by raising the edges and rubbing them further.

I then took an ivory BASIC card and stamped it with the distred Oxide, cutting out and applying as embellishments with the thick double-sided adhesive.
I then applied a hole on the short upper side and tied a satin ribbon

Here is a bookmark for the books that will accompany me during the summer


See you soon for the next project

martedì 19 maggio 2020

Wildflowers Notebook with PaperArtsy Infusions

Hi everyone and welcome. It's Jenny here, back to share more ideas for using your PaperArtsy Infusions and the beautiful stamp designs of Kay Carley. Today's project is a fabric covered notebook that features wildflowers on the cover. Here's the finished hand bound notebook;


Let's show you how this came together;

I started by cutting a piece of plain cotton fabric slightly larger than my Eileen Hull Designs Notebook cover. After spraying it with water on both sides I sprinkled a mix of Raspberry and Blackcurrant PaperArtsy Infusions over it, allowing them to react with the water.


I used a brush to move the Infusions dye colour around until it covered all of the fabric and then dried it with a heat gun.


Once the fabric was dry I glued it onto the notebook cover using double sided adhesive. I then used JOFY JM05 Stamp with white gesso to add a pattern over both sides of the cover.


To create the decoration for the front I stamped wildflowers from Kay Carley's Stamp Sets EK06 and EK07 on to white card using coordinating Archival Inks. Note; you can bend the stems on the stamps when putting them on your stamp blocks to change the shape slightly when stamping. The flowers were then cut out. I blended brown ink around the edges and used Wendy Vecchi's new Liquid Pearls to add the raised detail you can see on the finished book.


To add a contrasting layer and some trim for the spine of the book I used more PaperArtsy Infusions, this time a mix of Olive Tree, Slime and Golden Sands to colour more fabric and some cotton lace. This time I didn't move the colour around quite as much with my brush so the different colours remained more distinct.


To finish the notebook cover I stitched through the piece of green/yellow fabric before sticking it onto the front. Over the top I applied a piece of old book paper and some tissue coloured with the Golden Sands Infusions before bundling the wildflowers together on top. The lace was added to the spine and I attached some twisted cotton yarn with a charm at the top. Finally tea stained pages were bound inside.


Here's a reminder of how the finished notebook looks;


I hope you've enjoyed seeing today's projects and feel inspired to try using Infusions with your fabrics. The stampsInfusions, Archival Inks and white gesso are all available in the Marte store along with lots more PaperArtsy goodies so make sure to check them out.

Thanks for visiting,
Jenny (Pushing The Right Buttons)

martedì 5 maggio 2020

ICS#20.18 Enjoy with Shabby style with Marcella

Hello everyone,

it's time for Shabby style!

The time has come to bring the shabby style into the home by creating everyday objects and furnishings.

For this whole series of projects, Tommy Art products have been used, very versatile, quick and simple to apply, excellent performance.


The techniques used are different passing through the dry brush, wax finish, blackboard effect, wood effect, application of stencils etc.


and as a starting point a chalk colored background.


Below are two procedures for decorating a mirror frame and a blackboard.


We need a special tool to create the wood effeect on the left side of the frame on the layer created by Gesso a Spessore.
The right part is made with the wax technique that does not cause the color of the cracks to attack.


For the signboar I though about a Bistrot to advise for some information or why not the Menu?


In this case the middle part was made by Black Backboard paint ...


with a shabby decoration at the edges...


and finally a stencil application


All the products used can be found on the StoreOnLine of Marte at
                     
                     www.martesavona.com

You can enjoy a 15% discount by using the coupon ICS20XX at the checkout

Thanks and see you soon

    Marcella